Doom The Dark Ages Collectible Demon Toys and Toy Collector
Half the fun of a Doom The Dark Ages toy is working out how to reach it: 6 of the 24 Collectible Demon Toys are behind gates, and others need a climb, a weak wall, or a puzzle. Pick up all 24 on one save slot for Toy Collector, across 19 of the 22 chapters.
Each toy on our Doom The Dark Ages chapter maps comes with the gate, wall, or puzzle in front of it, a detail the Map Master team added so you arrive with the right key or plan. Walk over the blue-outlined question mark to pick a toy up.
Doom: The Dark Ages Toys You Need a Slayer Key For
Six base-game toys need a key or a gate. The Imp is behind Chapter 1’s Blue Key gate and the Slayer behind Chapter 6’s Purple Slayer Key gate, while Kreed Maykr is past Chapter 12’s Purple Gate. The Battle Knight, Acolyte, and Cosmic Baron are behind the Locked Gate in Chapter 16, the Blue Skull Gate in Chapter 19, and the Yellow Gate in Chapter 20.
Purple Slayer Keys are optional pickups, so they’re the easiest keys to skip on the way through a chapter, and two toys depend on a purple key or gate. Our Slayer Key locations pin each key, and Chapter 20’s Yellow Gate cave also has a page from our Codex locations.
Climbing and Breaking In for Doom The Dark Ages Toys
Climbing gets you three: Serrat in Chapter 5’s Hidden Basement up a wall climb point, the Pinky Rider on a wooden platform in Chapter 7, and the Vagary high on a platform in Chapter 9. The Cyberdemon in Chapter 10 is on a suspended platform you reach with a Jump Pad, and Chapter 2’s Imp Stalker is in a secret corridor through a ventilation shaft.
Weak walls guard two more: the Hell Knight behind a weak wall on Chapter 4’s upper floor and the Agaddon Hunter in Chapter 15’s hidden area. Both rooms are hidden areas, and our Secret locations pin the way into each one, so one route clears the toy and the secret together.
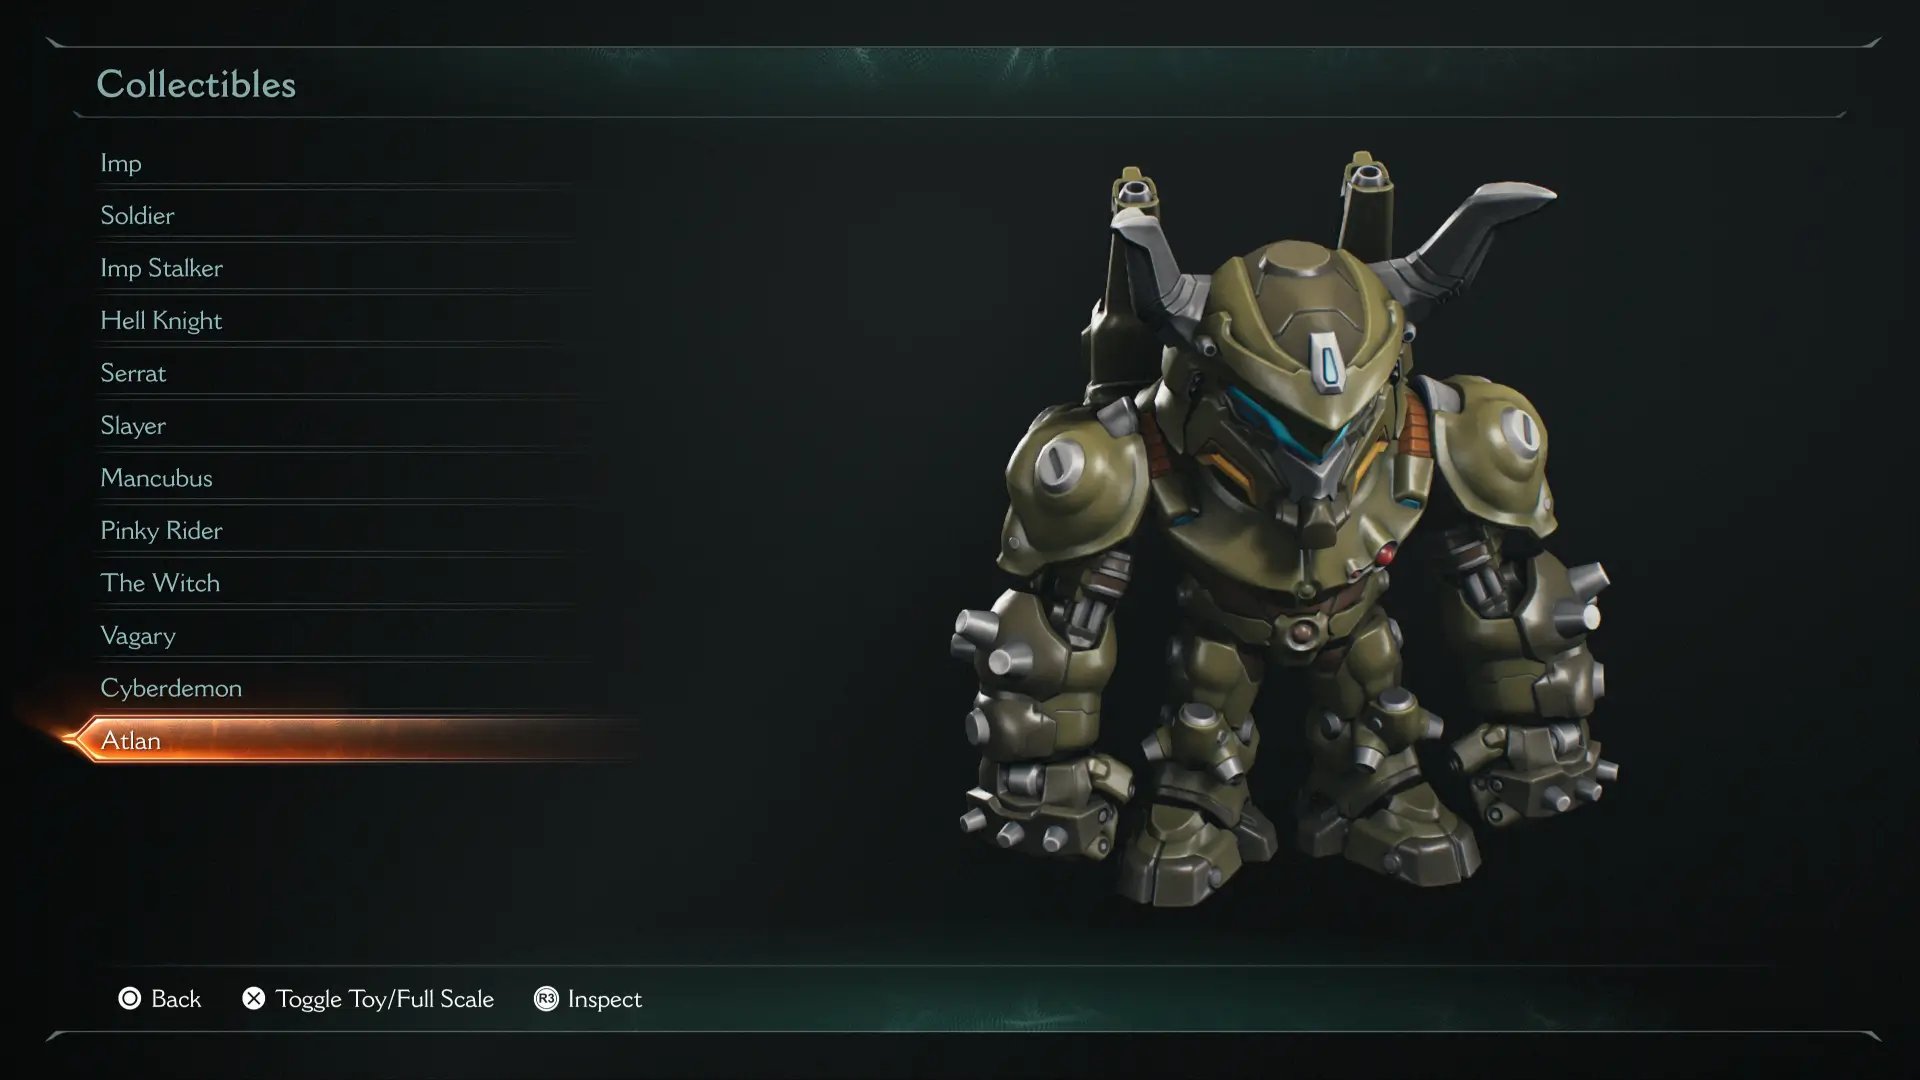
The Atlan toy in Chapter 11 is on the mech’s own helmet: climb out of the Atlan, turn to face the mech, and it’s waiting up top. It’s easy to leave behind if you rush on to the next objective, so check the spot on our Hellbreaker interactive map before you move on.
Doom The Dark Ages Toy Puzzles in Chapters 8, 17 and 18
The Witch toy in Chapter 8 is inside a cage: destroy the nearby seal first, then activate the Energy Node to lift it. Our Abyssal Forest interactive map has the seal and the node next to the toy, so you can do them in the right order.
In Chapter 17, push the Metal Box in the shipwreck and shatter the Cosmic Eye Frame to reach the Cacodemon Hybrid, and you’ll find both steps on our Temple of Lomarith interactive map. The Komodo toy in Chapter 18 is yours once you clear the enemies that spawn in its hidden area.
No Trophy Counts the Doom The Dark Ages Revelations Toys
Revelations adds 7 toys, and none of its 10 trophies ask for them, since those stick to the story: the Praetor Suit, Chain Spear upgrades, Relics, a Ritual of Power, the ‘93 Shotgun and Xal’Goroth. Hell’s Core and Chasm of Xal’Goroth have two each, Osseus, Uprising, and Purgatory have one, and Proving Grounds has none.
Three of them are endgame-only: the Henchman behind Hell’s Core’s weak ice wall, the Cosmic Elemental after the minigame in Chasm of Xal’Goroth’s locked secret room, and Marok in Purgatory’s upper room, reached with the Mechanism. That room also has a 12-piece stack from our Blood Iron locations.
In Osseus, an enemy attacks as you approach the Whiplash toy, so clear it before you grab the prize, and our Osseus interactive map pins the secret room on the upper level. Uprising’s Warlock is in a secret room you drop into through a hole behind a weak wall.
Doom: The Dark Ages Toy Collector, Replays and the Toy Shelf
Toy Collector only counts the 24 base-game toys, and all of them have to be on one save slot. The Slayer gives each new toy a look when you pick it up, and you can browse the whole set from the main menu afterwards.
A missed toy is one Chapter Select load away, and the replay leaves the ones you own collected. Chapters 1, 6, 14, 20 and 22 have two toys each, and Chapter 22’s pair are The Old One and Prince Ahzrak, two of the bosses you fight at the end of the story.
| Name | Map Location | Details | Screenshot | Found |
|---|---|---|---|---|
| WhiplashOsseus - Revelations DLC Chapter 4 | Osseus - Revelations DLC Chapter 4 | The Osseus Whiplash Collectible Toy is found in the Secret room on the upper level of the room. When you approach the collectible, an enemy will attack you; defeat it to obtain the Toy. | ||
| WarlockUprising - Revelations DLC Chapter 5 | Uprising - Revelations DLC Chapter 5 | Found in the Secret Room that you can reach by dropping through the hole behind the Weak Wall. | ||
| MarokPurgatory - Revelations DLC | Purgatory - Revelations DLC | The Marok Collectible Toy is found on a pedestal in the upper room, which you can reach with the help of the Mechanism. Note: Available during the endgame. | ||
| The HenchmanHell's Core - Revelations DLC Chapter 2 | Hell's Core - Revelations DLC Chapter 2 | The Henchman Collectible Toy is found in the Secret Room behind the Weak Ice Wall. Use the Chain Spear jump point to reach the next room. Note: Available during the endgame. | ||
| Cosmic ElementalChasm of Xal' Goroth - Revelations DLC Chapter 3 | Chasm of Xal' Goroth - Revelations DLC Chapter 3 | The Cosmic Elemental Collectible Toy is found on the ledge after completing the Minigame in the Secret Room behind the locked door. Note: Available during the endgame. | ||
| MancubusChapter 6: Siege – Part 1 | Chapter 6: Siege – Part 1 | Found on top of the hill, at the base of a large statue. | ||
| AtlanChapter 11: Hellbreaker | Chapter 11: Hellbreaker | Found on Atlan's head. After you get out of the massive Titan, turn around, and you'll spot it on the helmet. | ||
| BuzzsawHell's Core - Revelations DLC Chapter 2 | Hell's Core - Revelations DLC Chapter 2 | The Hell's Core Buzzsaw Collectible Toy is found on the ledge in front of the blue portal, in the Secret Area. | ||
| ArchvileChasm of Xal' Goroth - Revelations DLC Chapter 3 | Chasm of Xal' Goroth - Revelations DLC Chapter 3 | The Chasm of Xal' Goroth Archvile Collectible Toy is found on the Secret Ledge in the area with the fireballs. | ||
| Imp ToyChapter 1: Village of Khalim | Chapter 1: Village of Khalim | |||
| Soldier ToyChapter 1: Village of Khalim | Chapter 1: Village of Khalim | Found in the cave at the end of the path along the water. You can reach it by dropping from the large plateau. | ||
| Imp Stalker ToyChapter 2: Hebeth | Chapter 2: Hebeth | Found in the secret corridor after jumping through the ventilation shaft. | ||
| Hell KnightChapter 4: Sentinel Barracks | Chapter 4: Sentinel Barracks | Found on top of the small stairs in the secret hall you can access via the weak wall on the floor above. | ||
| SerratChapter 5: The Holy City of Aratum | Chapter 5: The Holy City of Aratum | Found on top of the stairs in the Hidden Basement you can reach via the Wall Climb point. | ||
| SlayerChapter 6: Siege – Part 1 | Chapter 6: Siege – Part 1 | Found behind the gate you can unlock using the Purple Slayer Key. | ||
| Pinky RiderChapter 7: Siege – Part 2 | Chapter 7: Siege – Part 2 | On the edge of a wooden platform in the hidden area that you can reach by climbing the wall. | ||
| The WitchChapter 8: Abyssal Forest | Chapter 8: Abyssal Forest | Found inside a cage in the middle of the room. To lift the cage, first destroy the nearby seal, then activate the Energy Node. | ||
| VagaryChapter 9: Ancestral Forge | Chapter 9: Ancestral Forge | High up, on the edge of a wooden platform you can reach by climbing the walls. | ||
| CyberdemonChapter 10: The Forsaken Plains | Chapter 10: The Forsaken Plains | Found on the suspended platform, you can reach by stepping on the Jump Pad. | ||
| Kreed MaykrChapter 12: Sentinel Command Station | Chapter 12: Sentinel Command Station | In the Hidden Room behind the Purple Gate. | ||
| ArachnotronChapter 14: Spire of Nerathul | Chapter 14: Spire of Nerathul | In the back of the Hidden Room on the upper level. | ||
| RevenantChapter 14: Spire of Nerathul | Chapter 14: Spire of Nerathul | In the middle of the Hidden Area. | ||
| Agaddon HunterChapter 15: City of Ry’uul | Chapter 15: City of Ry’uul | In the Hidden Area behind the Weak Wall. | ||
| Battle KnightChapter 16: The Kar’Thul Marshes | Chapter 16: The Kar’Thul Marshes | Behind the Locked Gate. | ||
| Cacodemon HybridChapter 17: Temple of Lomarith | Chapter 17: Temple of Lomarith | Found in the shipwreck after pushing the Metal Box. To obtain it, you must first shatter the Cosmic Eye Frame. | ||
| KomodoChapter 18: Belly of the Beast | Chapter 18: Belly of the Beast | Can be found in the Hidden Area after defeating the enemies that spawn. | ||
| AcolyteChapter 19: Harbor of Souls | Chapter 19: Harbor of Souls | At the end of the Hidden Area behind the Blue Skull Gate. | ||
| Cosmic BaronChapter 20: Resurrection | Chapter 20: Resurrection | In the Hidden Cave behind the Yellow Gate. | ||
| Maykr DroneChapter 20: Resurrection | Chapter 20: Resurrection | Found by heading to the right right after going through the Gate. | ||
| The Old OneChapter 22: Reckoning | Chapter 22: Reckoning | Behind an archway after completing the Encounter. | ||
| Prince AhzrakChapter 22: Reckoning | Chapter 22: Reckoning | Found after jumping into the hole in the Hidden Area. |

© MapMaster.io 2024. All rights reserved.